Christmas is a wonderful time of year, from spending time with family and friends to eating our weight in turkey and treats. In all the excitement it’s easy to get carried away spending money and showering our loved ones with gifts.
For several years now, I’ve been trying to make sure that at least one part of every gift I give is homemade. Sometimes that’s as simple as making the gift tag or wrapping it using craft paper, twine, and greens. Lately, however, I’ve been diving deeper into DIY projects around Christmas time. Not only do I have fun doing it, but I save a little money and usually get really positive reactions from the giftees.

Homemade Candles
I have always liked the idea of trying to make homemade candles, then one day while perusing Pinterest, I saw photos of these stunning candles that had dried herbs and flowers visible in the wax. I immediately thought of some dried lavender that I had saved for years, and had to try it. I was able to buy everything I needed at Michael’s craft store – soy wax, lavender fragrance oil, wicks, candle putty – and used a few other items already on hand – a thermometer, a wooden spoon and mason jars. To prepare, I used the candle putty to position the wick in the middle of the jar, and to stick sprigs of lavender to the glass. I used a double boiler to melt the wax, adding the fragrance oil once it was liquid, and then poured the mixture into the jars.
When the wax was cool (24 hours later), I was disappointed to see that it had become too opaque and I couldn’t see the lavender stuck to the sides of the jars. I figured that although the lavender I used was dry, it wasn’t flat, so it didn’t sit flush to the jar. It was winter at the time and I couldn’t get any more flowers or herbs, so I went for a drive on Mary’s Point Road and harvested a few branches from some balsam fir trees. I pressed them in large books, switching out the newspaper every day to help speed the drying process along. A week or two later I tried the candles again, using balsam fir fragrance oil this time. The verdict – great success.
There are a few nuances you need to know to successfully make candles, like at what temperature you should pour the wax and the size of the wick in relation to the diameter of your glass jar. If you google ‘homemade soy candles’ there are tons of resources online to help guide you.
Mason Jar Photo Library
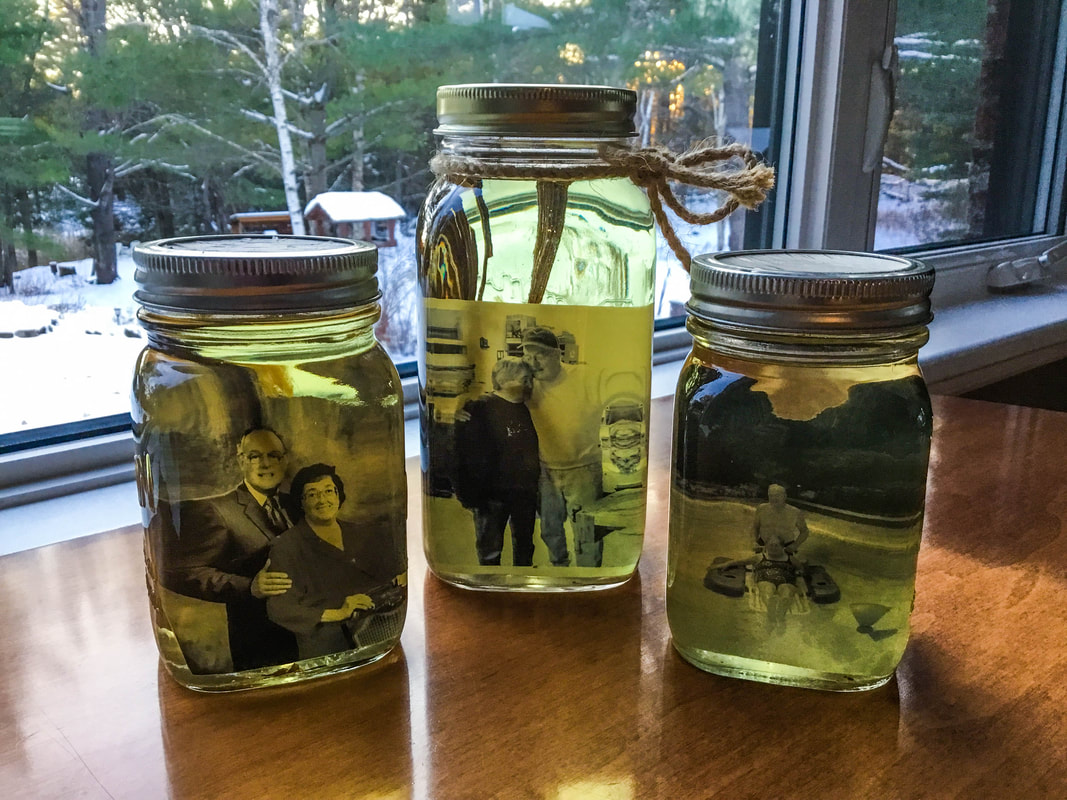
I love this one because it is so easy. All you need is a few mason jars in sizes of your choice, some of your favourite photos, a printer and photo paper (or a Walmart), and a jug of vegetable oil. Print your photos, trim them to the right size, place them in a jar and then fill the jar with vegetable oil. Put the lid on the jar, and voila! As it turns out, vegetable oil doesn’t penetrate photo paper, and the photos end up suspended in the oil. If you choose a type of oil with a yellow-ish tint, the end result will have a vintage flare to it. If you like, you can dress them up a bit by covering the top of the jar with fabric or adding a bow.
Personalized Clocks
A couple years ago, my best friend told me she was going to attempt to make clocks for her family for Christmas, and asked if I wanted to join in. We put our heads together, and using extremely amateur woodworking skills, we were able to create a few quirky little clocks. Since that first year, we’ve honed the craft, and actually made some pretty refined and polished pieces.
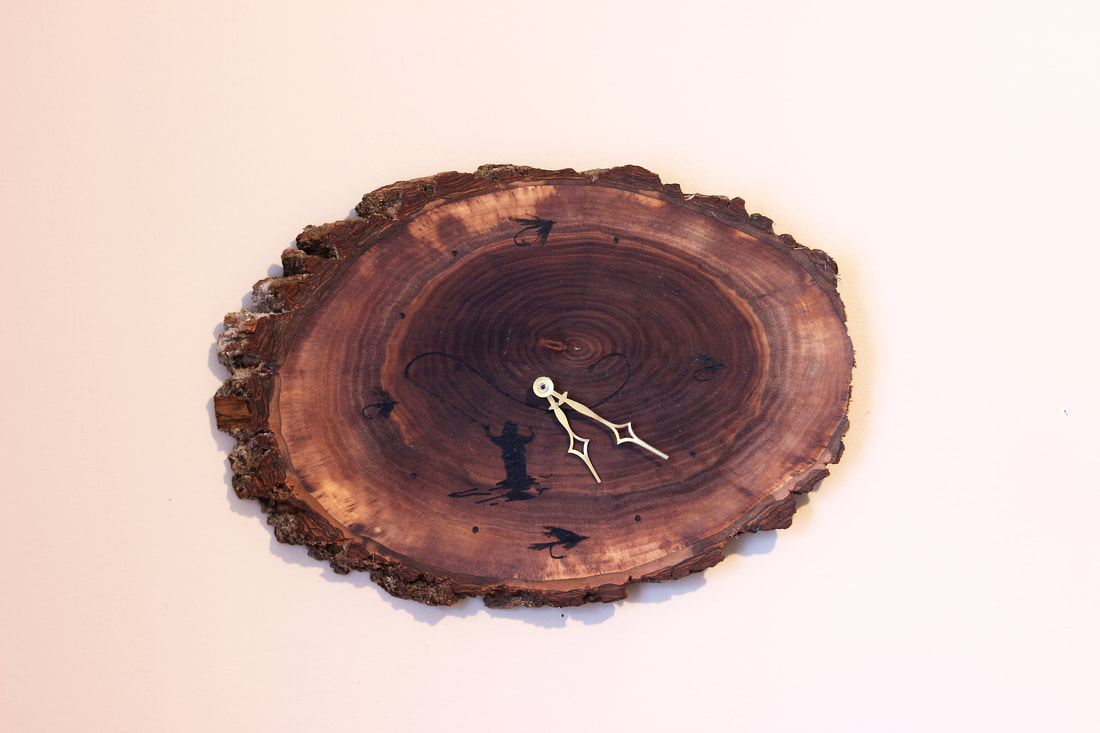
Last year, I purchased a couple live edge rounds of walnut, and the clock mechanisms and hands at Michael’s. You can also order these online from Lee Valley; they have tons of different hands to choose from. The first order of business is finding the centre of the clock face and drilling a hole through it that’s wide enough for the screw part of the clock mechanism – where the hands will attach – to get through.
Depending on the thickness of the wood, you might have to do a little extra work here. If the screw part isn’t long enough to get through the wood, you’ll have to cut part way through the back of the clock so that the mechanism itself can be set into the back of the wood and the screw can reach through. The easiest way I’ve found to do this is using a hand router with a plain tip and a guard on it to make sure that I don’t cut too deep into the wood and accidentally go all the way through. Trace the shape of the mechanism on the back of the clock and then get to work with the router. It takes time and patience to do this part, but it’s worth it.
Once that part is sorted out, the fun part begins. Sand the wood down, and then use a woodburning tool or paint to add designs and numbers to the face of the clock. Not an artist? No problem. You can use graphite transfer paper to trace drawings and images onto your clock face before going over them with paint or a wood burner. You can also download clock templates online to make sure you place the numbers in the exact right spots to properly keep time. Finally, treat the wood – I use a beeswax finish, install the mechanism and the hands, and add hardware so that it can hang. Finito!
 RSS Feed